Build Your Own Fire Pit

Things to do in Ottawa’s West End
August 7, 2020
What to Unpack First
August 21, 2020Build Your Own Fire Pit
Do you live in a place that allows open air burning? Do you love the ambiance of fiery red flames? Are you someone who enjoys staying outdoors in the summer and fall evenings? Are the gas fireplaces just too fake or expensive for you? Why not build your own fire pit! It really isn’t difficult and all you need are some bricks or stones, gravel, a shovel and some basic garden tools to get started! Check out these easy step-by-step instructions on building your own fire pit!
Be sure to check your municipalities burning rules before starting fires in your backyard. You may need a burning permit which is generally free or very cheap to purchase. Also, be sure to abide by the burning rules such as burning during certain hours. If you don’t think building a fire pit is going to work for you at your current location, why not try camping for a few days! Most campsites have fire pits on site where you can enjoy the ambiance and roast your marshmallows! Check out our list of 10 awesome campsites near Ottawa!
What you'll need:
TOOLS:
- Tape Measure
- Stake
- Wheelbarrow (to carry your bricks or stones to the site)
- Shovel
- Level
MATERIALS:
- Bricks or stones
- Gravel
- Twine or string
- Firewood
- Mortar
Step 1: Plan Your Location
The location you set up your fire pit in needs to be well thought out. You don’t want the pit to be too close to your house, your fence or the trees above. A good rule of thumb is to build your fire pit at least 10ft away from any sort of outdoor structure. Fire can be deadly, so you want to make sure you safely set it up away from anything flammable. At the same time, you want the fire pit to be in a place that is good for entertaining. If your property has a lot of acreage, you may not want to choose a spot at the edge of the lot line. You also want to have your fire pit located somewhere that is close to a water source. Whether this means your garden hose is nearby, you have a rainwater barrel, or you fill up a bucket at your sink, you don’t want to be too far away from some sort of water to easily put the fire out.
Step 2: Plan Your Design
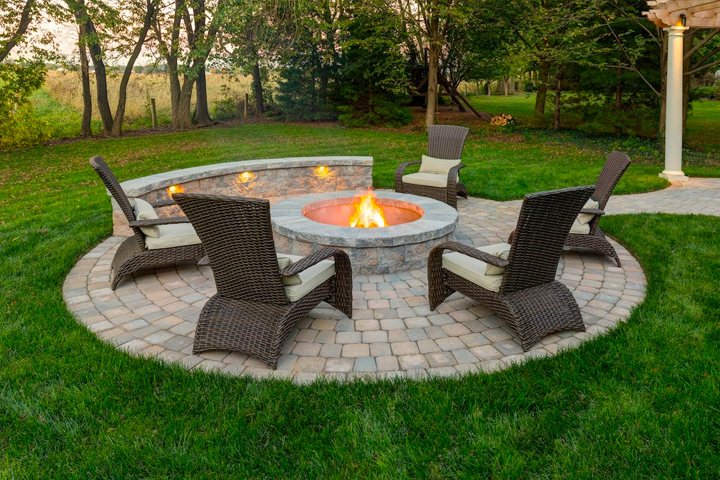
Do you want a circular fire pit or a square or rectangle? There are lot of modern designs now that don’t limit you to the standard circle fire pit that used to be the norm. Of course if you are looking for a traditional circle, read on and we will show you how to create the perfect circle! Are you looking for a modern and sleek design? Perhaps in this case you will want to use bricks or paving stones as the wall of the pit. If you are going for more of a rustic look, you may want to just use stones you found on your property as the wall. What size of fire pit are you looking for? Do you want one that you and 10 of your friends can sit around or is a small one just for your family going to work? If you are really feeling adventurous, you could even try a sunken fire pit that is built right into the ground! Check out this awesome video from Lowes on how to build your own!

Step 3: Start Digging!
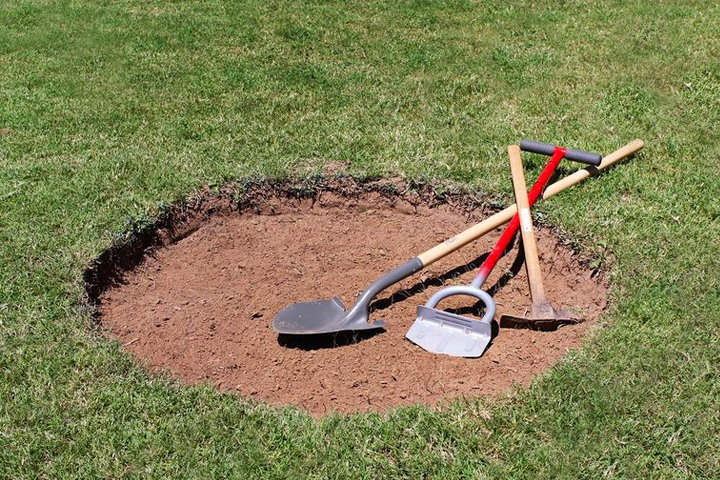
If a traditional circular fire pit is what you have decided on, you will need to hammer your stake into the ground in the centre of the fire pit. One your stake is in place, attach a string to the stake and measure half the length of the circumference of the pit. Typically, a fire pit diameter would be 4-5 feet. Once your string is attached, drag the sharp end of the trowel around in a circle creating an outline. If you are going for a square firepit, measure out the size and do your best to create straight lines with your trowel. Once you have your outline in place, it is time to start removing the grass. Using a large shovel, carefully remove the grass from the surface. Once you grass is removed, you should dig about 6 inches below the surface for safety purposes.
Step 4: Lay Your Gravel
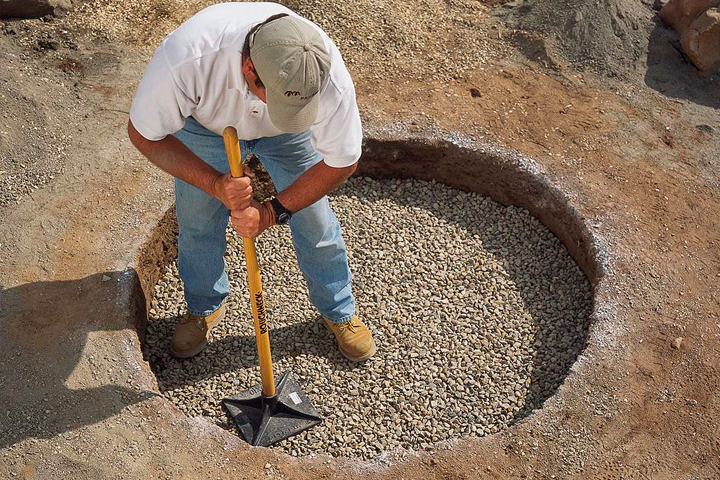
Once you have dug your hole at least 6 inches down, be sure to stomp on the dirt so that it is even. Use your level to be sure that you are laying your gravel down on a flat surface. Add your gravel to the pit and spread the pieces around evenly. Wet the gravel with a gardenhose and then pat your shovel on top of the pieces to try and compact it into a hard layer an inch or two thick. The gravel will give a nice flat (and inflammable!) surface to place your bricks or stones on top of. It also adds a nice touch to the overall appearance of the fire pit. If you have enough gravel left over, it looks very classy to add a 3-4 foot ring surrounding the fire pit. Not only is it appealing to the eye, but it also creates a flat surface to put your chairs!
Step 5: Build the Walls
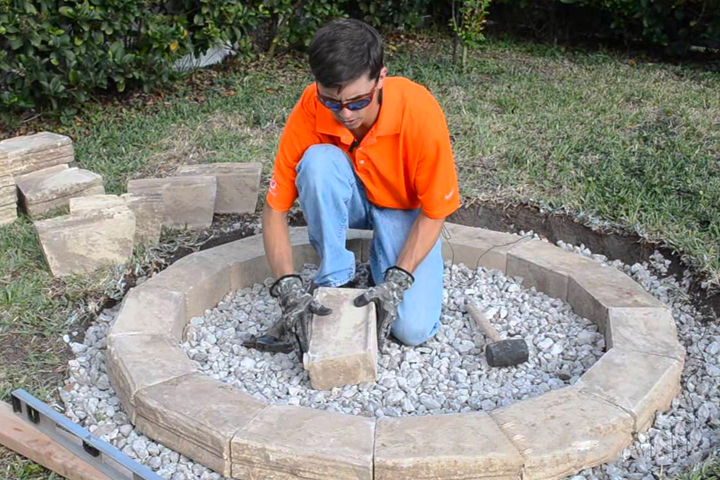
This is where your bricks or stones come into play! Depending on how ornate you want your fire pit to be, this part can be done quickly or a little more time consuming. If all you want is a row of rocks around the outside, this can easily be done by simply laying the stones around the pit and stacking them 2-3 stones high. You want to be sure to use flat stones so you can easily stack them. If you are looking for a safer and more glamorous fire pit, then you might want to use bricks and mortar. If this is the route you are taking, you will first want to lay the mortar about 2 inches thick around the outside of the pit. Working in small sections, carefully lay your bricks on the mortar. Use your level to make sure that the first layer of the bricks are flat. Once the first layer is set, fill in the gaps with your wet mortar and scrape away the excess. Continue this process until the walls are about 1 foot tall. It is a good idea to stagger the bricks so that the wall is stronger and more stable. It also gives it a nicer finished look.
Step 6: Enjoy!
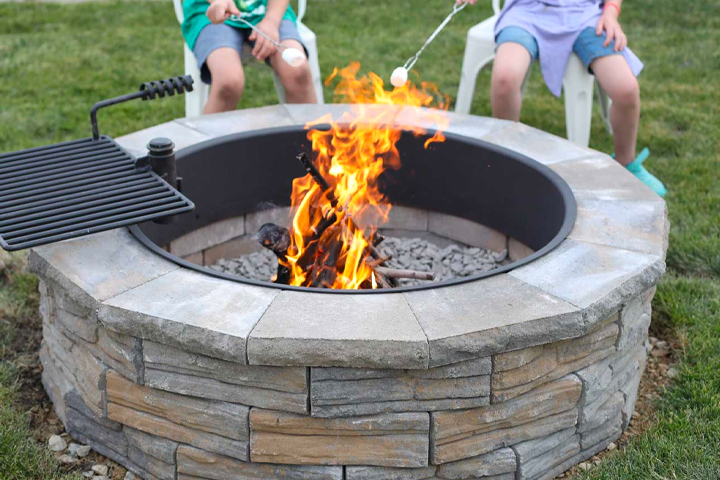
Once the mortar has finished drying, you will want to use your garden hose to spray off any leftover mortar. If you want to add a steel fire ring inside of the pit, you can do so at this point. The ring will prevent the wall material from drying out and crumbling from the heat of the fire. It will also keep the inside of the pit nice and clean as well as add a nice look to the pit. Once you have your pit ready to go, it is time to add your firewood. Arrange your logs in a teepee formation with twisted newspaper stuffed in between the logs. Be sure that there is space between the pieces of wood as ventilation is important so that the oxygen can get to the fire. Once your fire is roaring, it’s time to bust out the s’mores! Hersey now makes a S’mores kit that you can purchase at your local grocery store. Sit back and enjoy your new fire pit!
We hope you enjoyed these 6 simple steps for building a fire pit! Remember to check with your local bylaws before doing any sort of outdoor burning. If open air burning is not allowed in your current location, there are lots of gas options available as well! Looking to purchase a home a little farther outside of the city so you can have giant bonfires? Give us a call! We’d love to help you find your dream home!
613-608-4663


