Budget Gazebo

Stay Cool with our Lemonade Fruit Slushes!
May 20, 2022
Cleaning Hacks
June 10, 2022Building a Gazebo on a Budget
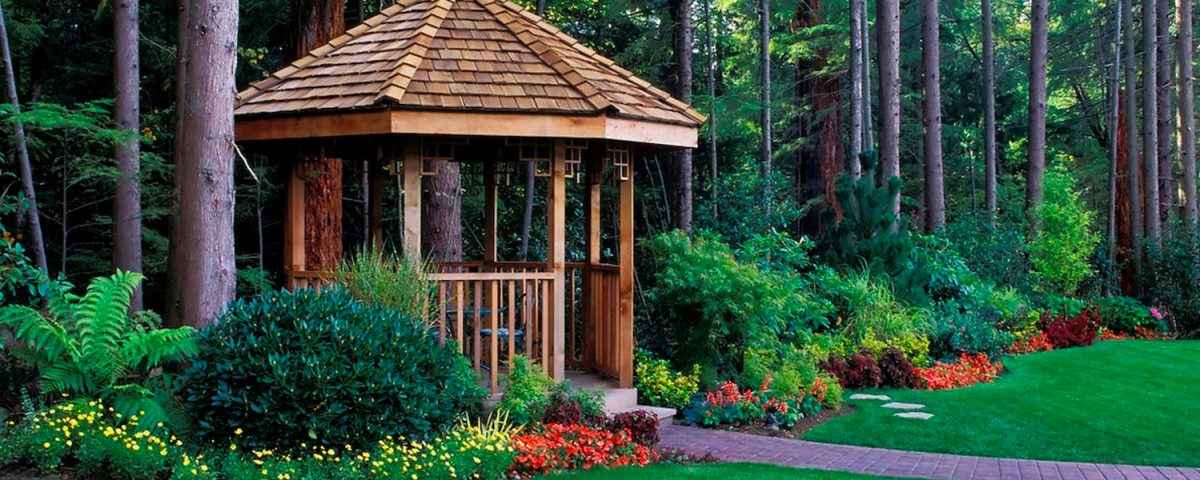
A gazebo is a perfect place to enjoy a hot summer day in your backyard – without the nuisance of pesky mosquitoes! Have you always wanted to build a gazebo in your backyard but never made it happen? Perhaps this summer is the year! We have some great tips below for building a gazebo on a budget. These fun backyard structures don’t need to be crazy expensive to build, you can build them affordably by following the steps below.
The materials required to build a gazebo are definitely more affordable when compared to the cost of a kit or if you hire a contractor to build one for you. If you have experience with basic construction tasks and have extra time to spare, you can easily save a lot of money by building your own gazebo.
Here’s how you can build one yourself!
Building a gazebo isn’t as difficult as it sounds, but you will want to keep a few things in mind to make your project successful. Follow these easy tips below to build a budget-friendly gazebo in your backyard!
Looking for more budget DIY’s? Check out our great article with 15 easy DIY projects to do at home!
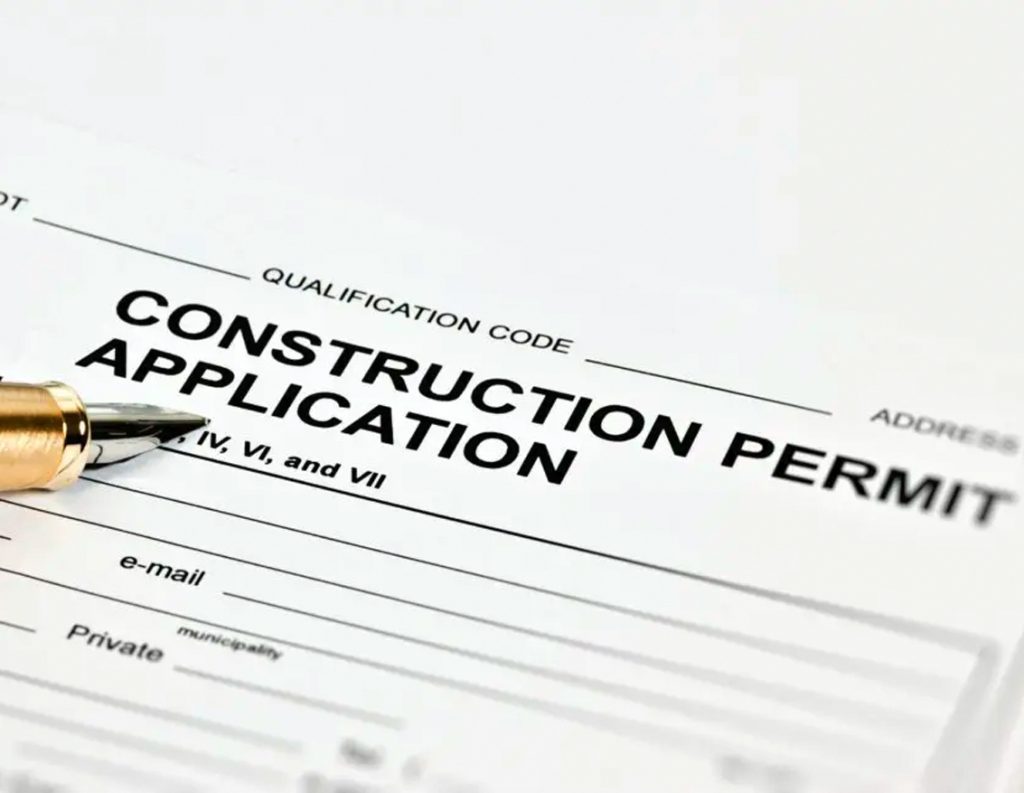
Obtain a Permit
The first thing you want to do before building any sort of structure is to obtain the required permits for your project. Each municipality will have different bylaws and required building permits, so you will want to check in with your local building inspector before starting on your project. In most municipalities (including the city of Ottawa), a structure that is 100 square feet or less does not require a permit. If you live outside the city of Ottawa, you will want to check on regulations in your area. You don’t want to get a fine later on. Remember that sometimes obtaining a permit can take a few weeks, so you will want to get started on this step sooner than later. Once you have your permit, you are ready to break ground.
Plan Out Your Design
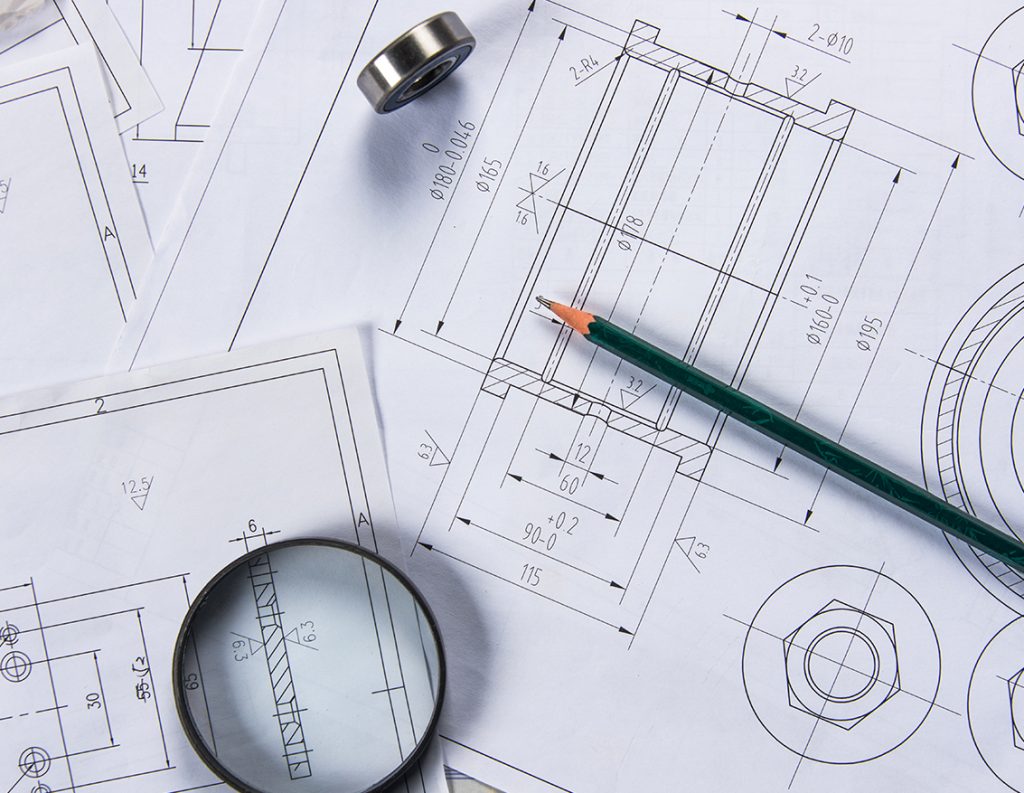
Before starting any sort of outdoor project, you should have a plan for what you are building. There are tons of great free plans and YouTube videos online for building gazebos. These will give you a full breakdown of the materials you will require for your specific project. The complexity of your project will determine the overall price of your gazebo in the end. If you want to stay on budget, go for something a little more simple. You will also need to figure out where in your yard you would like to build this structure. When planning the location, there are a few factors to consider. Do you want your gazebo in the sun or shade? Will it be in the way of your lawnmower or pathway? How far from the house do you want it to be? Will you need a hydro hookup?
Prep Area / Build the Base
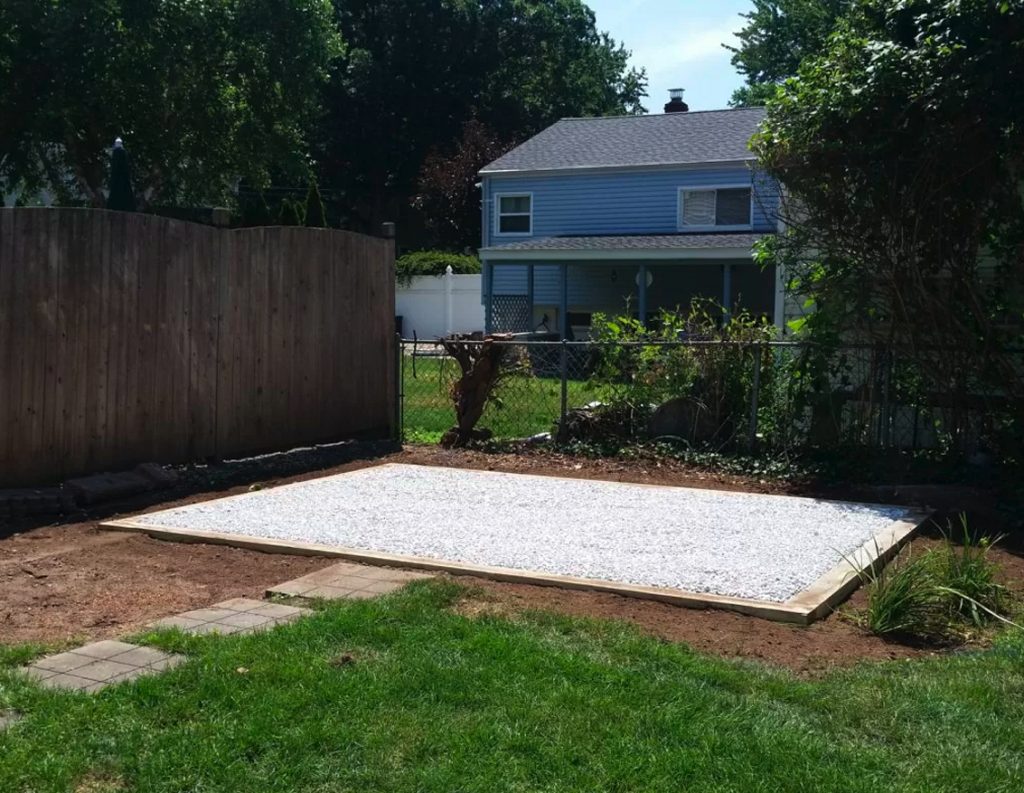
The next step will be to prep the area where you will be building your gazebo. This means flattening the ground and getting it ready for your base. You may want to lay a flat layer of gravel down or bring in some dirt just to make sure the land is level. Next, it is time to build the base. The base of your structure can be made out of a variety of materials. You could build a wooden base, lay a concrete base, lay patio stones, or just leave it as gravel or dirt. It is totally up to you. Building the base is obviously going to look different for your choice of material, and here is a great resource for building the right base for you.
Set Location For Posts
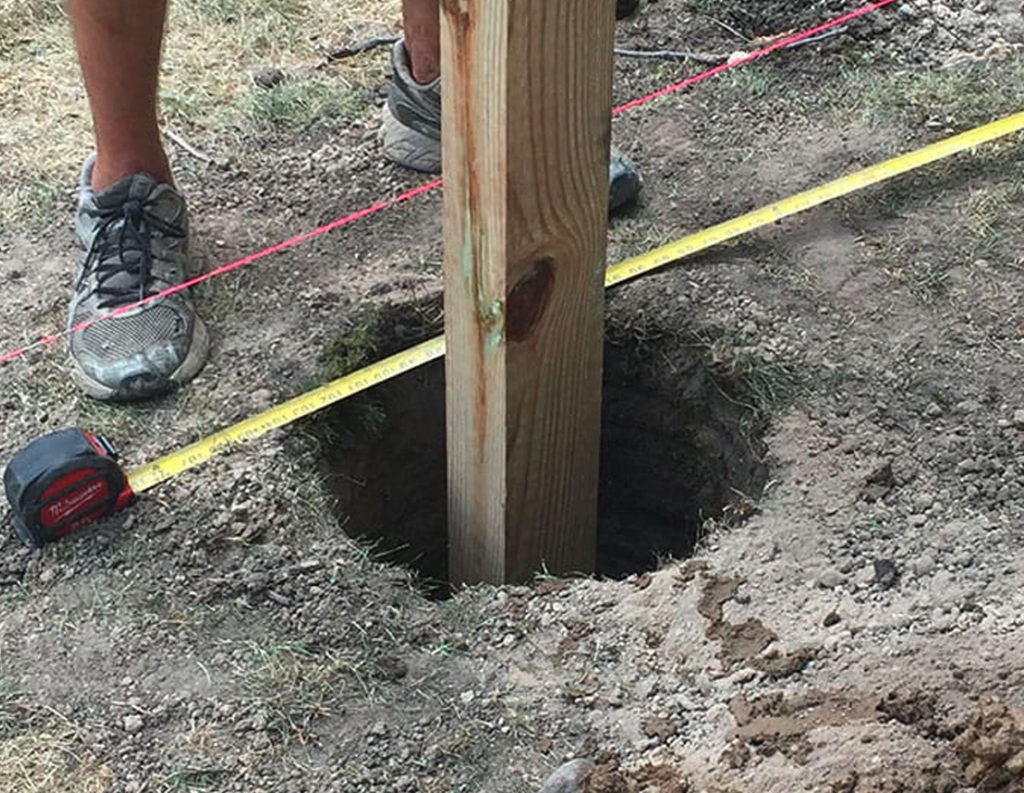
Most gazebos are square which means you will want 4 posts in each corner. You will need to dig the holes for the posts. This can be done with a post digger or just a regular shovel if you don’t have one on hand. Your holes should be at least 18 inches deep so that your poles are strong enough to withstand the rest of the structure. You will also want to make sure to have some ready-mix concrete on hand so you can set your posts in place later on. Once you have your holes ready to go, it is time to cut the posts.
Cut Posts to Length
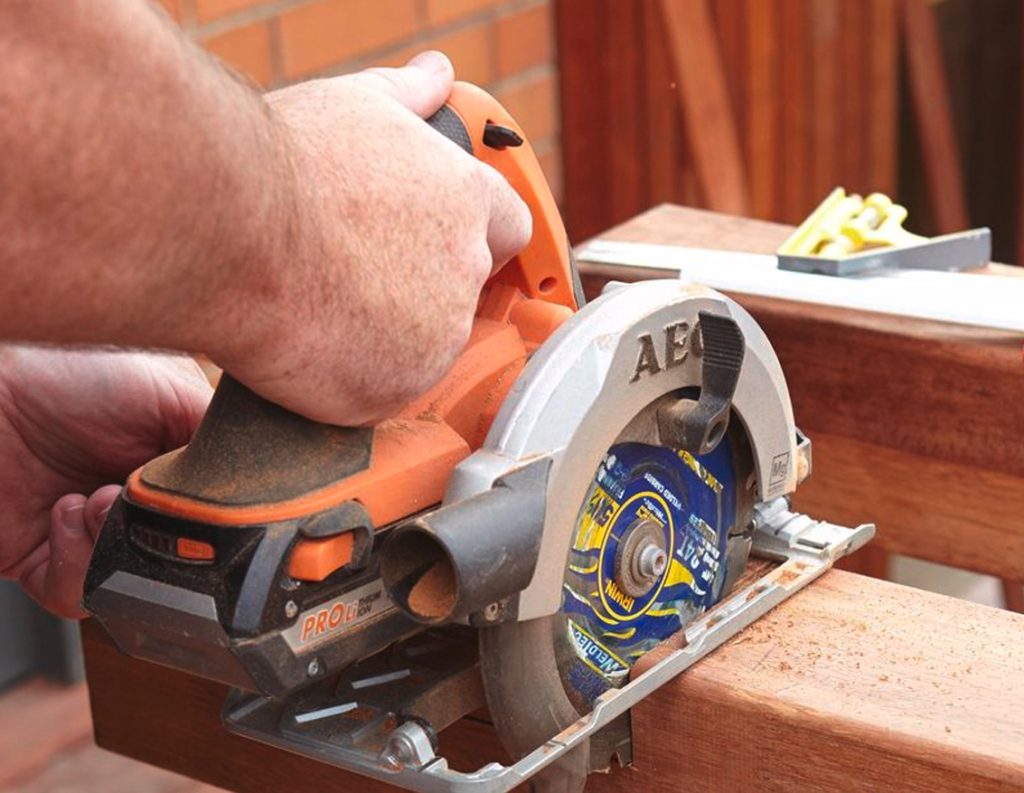
The height of your gazebo really depends on personal preference. In most cases, an 8x8ft gazebo has a height of about 10ft. so you will want to have lumber that is at least 10ft in length. For actual measurements, be sure to refer to your plan. For more great gazebo plans, check out this link. To cut your lumber, you will either need a jigsaw or circular saw as well as a designated place for cutting such as an outdoor table, bench or sawhorse stand. Don’t forget your safety goggles to keep sawdust out of your eyes!
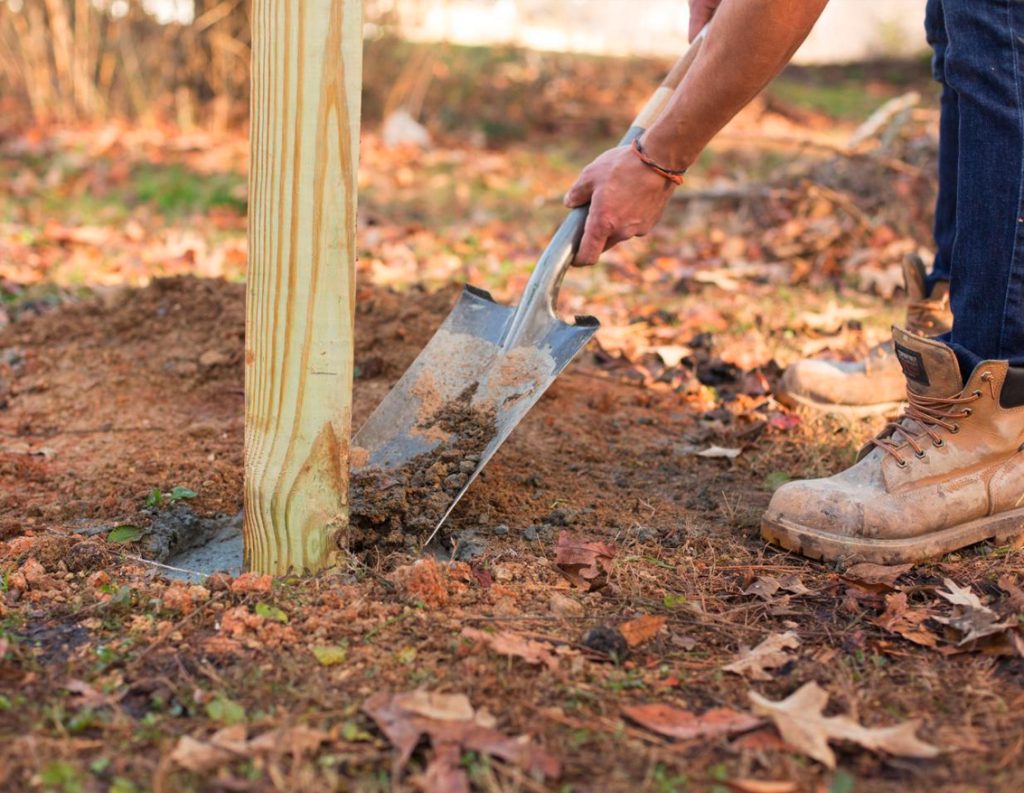
Set the Posts
To set the posts, you will need some ready mix concrete to fill the holes. Measure the hole and multiply the length x width x depth. This will give the volume of concrete that you need. Next, divide the volume by the amount of concrete you are using. Most premixed concrete comes in 20, 40, and 80lb bags. Once you know how much concrete you need, it is time to mix it. Open a bag of concrete mix and pour it into a mixing container. Poke a hole in the centre of the concrete using a shovel, then add water to the hole. The ratio of water to cement is usually 3.8 L / 80lb bag. Mix your concrete for 1-2 minutes until it’s a thick consistency. Hold the post in place and pour your concrete around the post. Smooth down the surface of the concrete with a shovel.
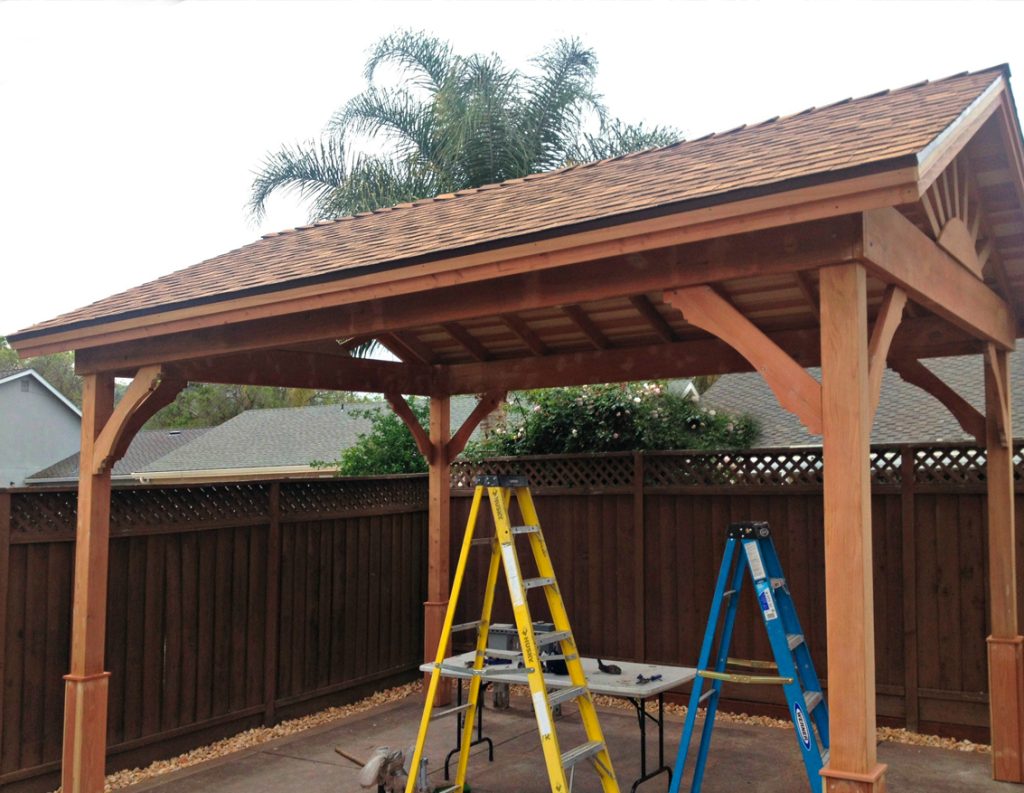
Build the Roof
Depending on the size of your gazebo, you may want to build your roof on the ground level and then hoist it up on top of the structure. Or, you may want to build it in place instead. It is up to you how you go about this, but keep the weight in mind if you plan on hoisting it up once it’s complete. To build your gazebo roof, you will need to cut your lumber into the correct lengths and build the bracing beams in a rectangular (or octagonal – whatever shape you have chosen for your gazebo) shape. Once your bracing beams are in place, it is time to build the angled roof. For a great resource on building a super affordable gazebo roof, check out this video.
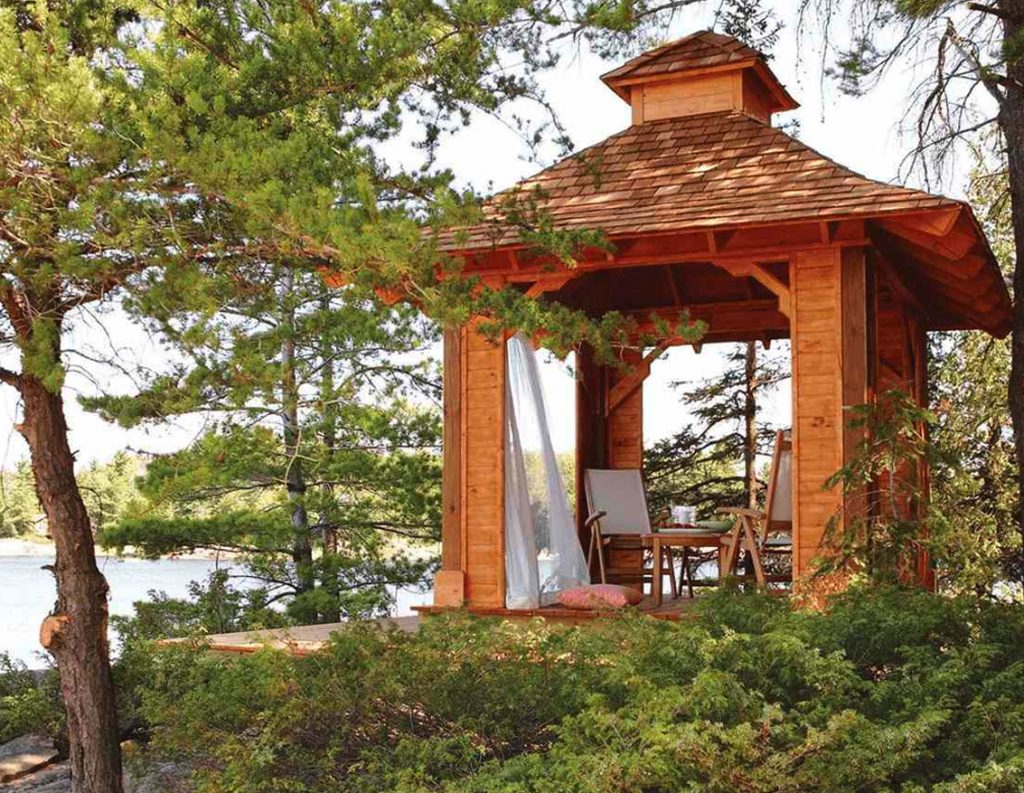
Assemble Walls / Screens
This step can easily be skipped if you would prefer an open-air gazebo instead. There are many different types of gazebos and the type of walls you choose is completely up to you. Some people prefer to use lattice, some like to create a mosquito-free zone and put up screens, some use curtains instead to add some shade and some extra style. Whatever you choose, you will want to do this step now. Refer to your gazebo’s specific plans for steps on how to assemble your walls properly.
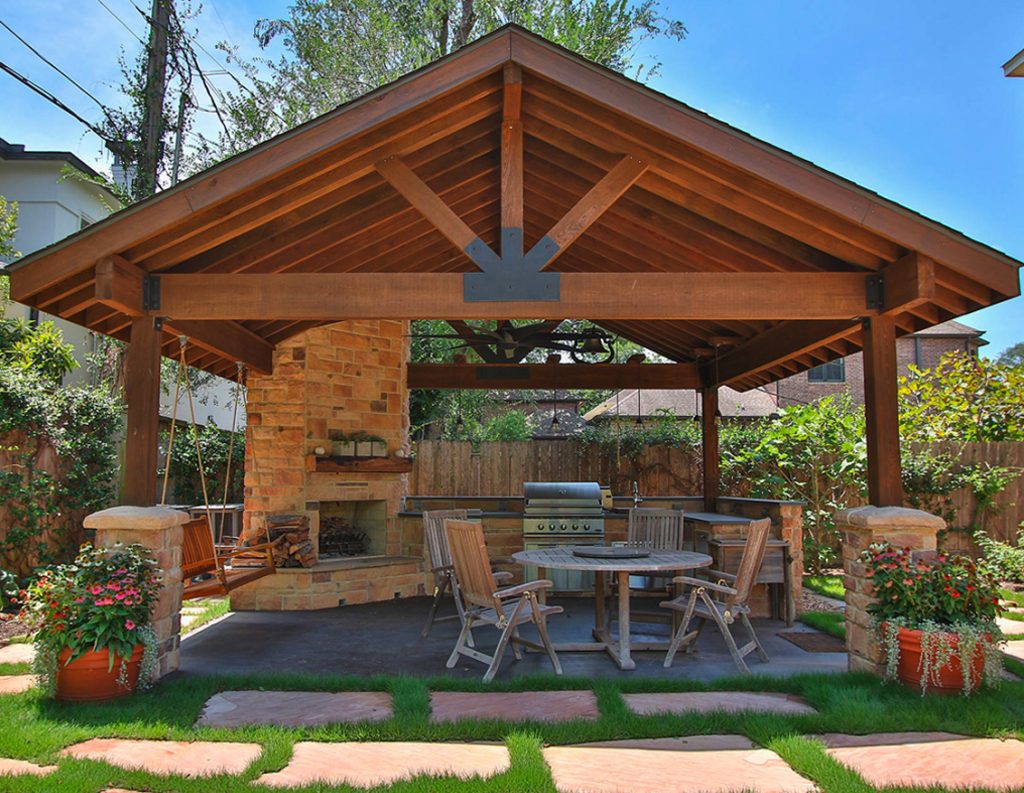
Decorate & Enjoy!
The best part of your new budget gazebo is the time spent sitting in it! You may want to stain or paint the walls and posts of your gazebo, or just leave them the natural wood that they came with. Some people like to add cedar planks for a more stylish finish. If you are able to run hydro out to your gazebo, you may want to add some lighting either inside or on the exterior of the structure. You can also add built-in seating options such as benches or swinging couches. Adding some flower pots next to your gazebo or some hanging planters always livens up the decor as well. Once you have your gazebo looking how you want it, it’s time to sit back and enjoy! You worked hard on this backyard project, its time to take it all in!
Not only will building a backyard gazebo give you the perfect summer hangout space, but it also instantly boosts your curb appeal. This in turn can actually add value to your home, so you can think of building one of these structures as an investment! This summer project just got a lot more fun when you think of it that way! We hope you enjoyed our tips on creating your own budget gazebo and we know that you will enjoy this new structure to the fullest! Remember, if at any point in time you feel unsafe or like the work is too much for you, hire a professional to help. You don’t have to do it alone. Have a wonderful summer season!
If you are looking for more great DIY ideas for your home on a budget, check out our Pinterest board for more!


