Pumpkin Carving

Pumpkin Patches in Ottawa
September 21, 2023
DIY Fall Wreaths
September 22, 2023The Ultimate Pumpkin Carving Guide
As the leaves turn golden and the air becomes crisp, it’s that time of year again when pumpkins reign supreme. Before we dive into the creative world of pumpkin carving, let’s start with a delightful adventure – a visit to the local pumpkin patch! A few awesome pumpkin patches in the Ottawa area include Pinewood Orchard, Log Cabin Orchard, Proulx Farm, Millers Farm & Market & Saunders Farm. For more locations, check out our blog post “Top 10 Pumpkin Patches in the Ottawa Area“!
The excitement of choosing the perfect pumpkin from a pumpkin patch adds an extra layer of magic to this cherished tradition! Be sure to find the right size, shape, and colour for your design. Also, be sure that your pumpkin isn’t bruised or rotted, and check to make sure it has a sturdy stem.
Just like the autumn apples you pick, it’s essential to give your chosen pumpkin some TLC before carving it into a spooky masterpiece. Begin by giving it a good wash, either with a hose in your backyard or a thorough rinse in the kitchen sink. A sponge cloth or a versatile sponge can be used to gently scrub away any lingering dirt and debris from its time in the pumpkin patch.
Once armed with your selected pumpkins, it’s time to carve and bring your neighbourhood together in a festive Halloween competition!
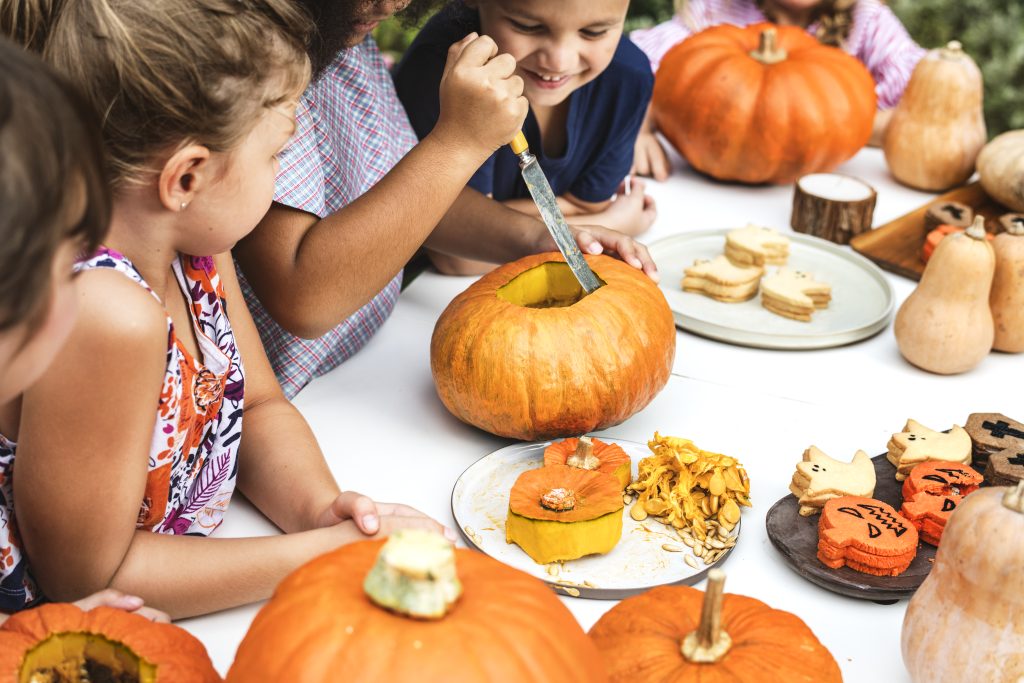
Before you dive into the creative world of pumpkin carving, make sure you have the right tools at hand.
Here’s a list of essentials:
The Tools You'll Need
Pumpkins: The stars of the show! Choose pumpkins of various sizes to allow for creativity.
Carving Kit: Invest in a good pumpkin carving kit, which typically includes various
Marker or Pen: Use this to sketch your design onto the pumpkin’s surface.
Bowl for Seeds: You’ll need this for collecting the seeds for roasting.
Newspaper or Disposable Tablecloth: To keep your work area clean.
Battery-Operated Candles or LED Lights: For safety, opt for these to illuminate your carved pumpkins.
Setting the Spooky Ambiance
To make pumpkin carving truly unique, set the stage with a spooky atmosphere:
Spooky Music: Create a Halloween playlist with eerie tunes that’ll get everyone in the spirit.
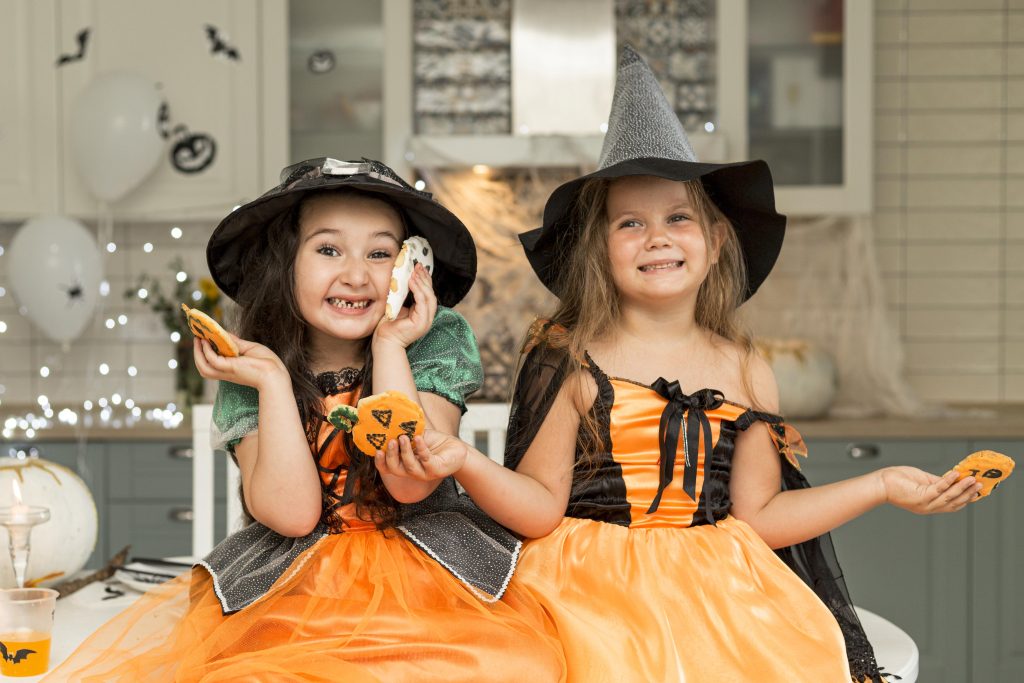
Costumes: Encourage your family to wear costumes while carving to add to the festive mood.
Decorations: Deck out your carving area with cobwebs, fake spiders, and other creepy decorations.
A Tasty Side Quest
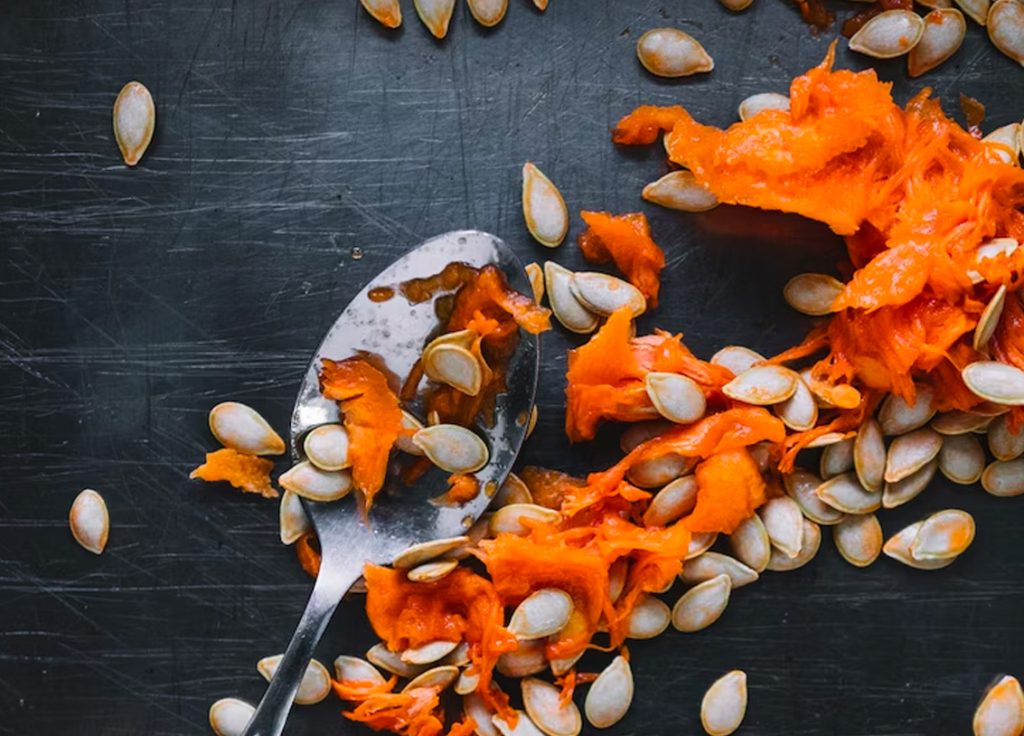
Don’t let those pumpkin seeds go to waste! After scooping them out, rinse them, toss them in a bit of olive oil and your favorite seasonings (try cinnamon sugar for a sweet treat or paprika and garlic powder for a savory snack), and roast them in the oven at 300°F (150°C) for about 45 minutes or until they’re golden brown. They make for a delicious and healthy snack to enjoy while carving.
Creative Carving Ideas
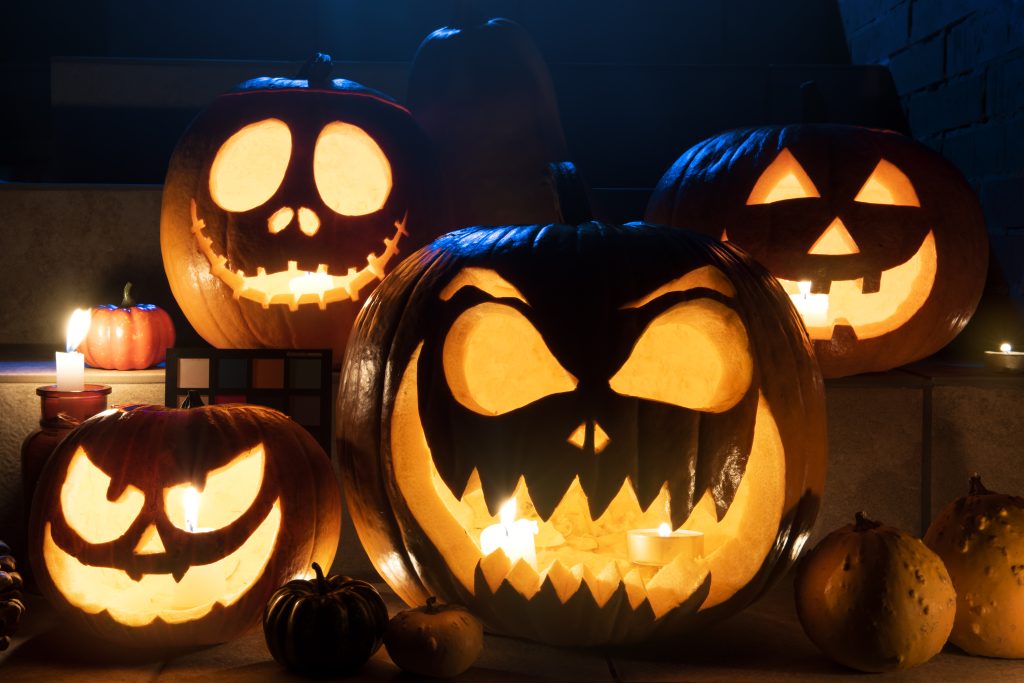
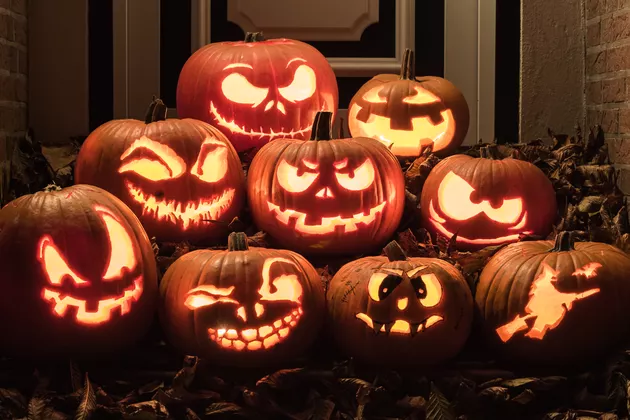
Carving your pumpkins is the best part! Here are a few fun ideas. Looking for even more inspiration? Check out these 78 pumpkin carving ideas that are sure to please even the pickiest of carvers!
Character Pumpkins: Carve your favourite movie characters, or superheroes onto your pumpkins.
Emoji Pumpkins: Create emoji faces with different expressions!
Nature-Inspired Designs: Carve intricate leaf patterns or forest scenes for an elegant touch.
Constellation Pumpkins: Drill holes in the shape of constellations for a celestial display.
Glow-in-the-Dark Pumpkins: Paint your pumpkins with glow-in-the-dark paint for an eerie nighttime effect.
Carving Tips
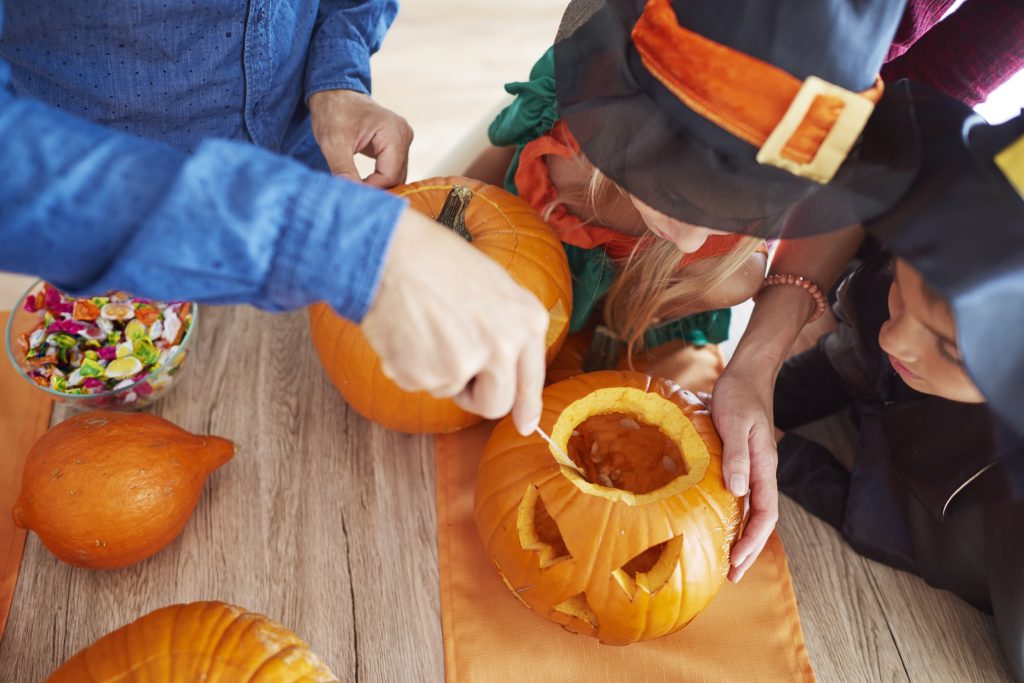
When it comes time to cut out the lid for your pumpkin, remember to angle your cuts rather than going straight up and down. This clever technique ensures that the lid won’t accidentally drop inside the pumpkin. If you’ve been storing your pumpkins outside, consider bringing them indoors 1-2 days before the carving event to allow them to warm up. Remember that mould is the enemy of your pumpkin’s longevity. To keep it fresh, dunk your carved creation in cold water with a cap full of bleach to eliminate any harmful bacteria. Let it soak for up to 8 hours, and afterward, generously apply petroleum jelly to the cut edges to lock in moisture.
Here’s a delightful tip to fill your home with the aroma of the season: sprinkle a little cinnamon on the inside of your pumpkin lid. When you light up your jack-o’-lantern and put the lid back in place, your home will be enveloped in the sweet and savoury scent reminiscent of pumpkin pie. Mmm, the perfect finishing touch to your spooktacular pumpkin carving tradition! 🎃
Neighbourhood Carving Contest
Why not turn your pumpkin carving into a friendly competition with your neighbours? Here’s how:
Spread the Word: Invite your neighbours to participate in a pumpkin carving contest. You can use social media, flyers, or simply knock on their doors.
Set a Date: Choose a date for everyone to display their carved pumpkins in front of their homes.
Judging: Appoint a judge or let the community vote for their favourite pumpkins. Add prizes for the winners!
Community Spirit: This is a festive and fun way to get to know your neighbours better!
In Conclusion
Pumpkin carving isn’t only about stunning jack-o’-lanterns, but also treasured memories that will last a lifetime. The laughter, creativity, and friendly competition with your neighbours adds a new dimension to your pumpkin carving tradition, making it a highlight of the season.
So, as you prepare to light up your jack-o’-lanterns on Halloween night, remember that it’s not just about the spooky faces or intricate designs—it’s about the joy of coming together as a family, the thrill of creativity, and the sense of community that flourishes in your friendly carving contest. With each flicker of candlelight, your pumpkins tell a story of togetherness, warmth, and the magic of the season.
As you continue this unique tradition year after year, take pride in the fact that you’ve woven the spirit of Halloween into the fabric of your family and neighbourhood, turning each pumpkin into a radiant symbol of the joys of autumn. Happy carving, and may your Halloween be filled with laughter, light, and the sweet aroma of pumpkin spice!


