Stencil Your Patio

Fairy Garden
July 29, 2022
Outdoor Lighting Trends
August 12, 2022How to Stencil Your Patio
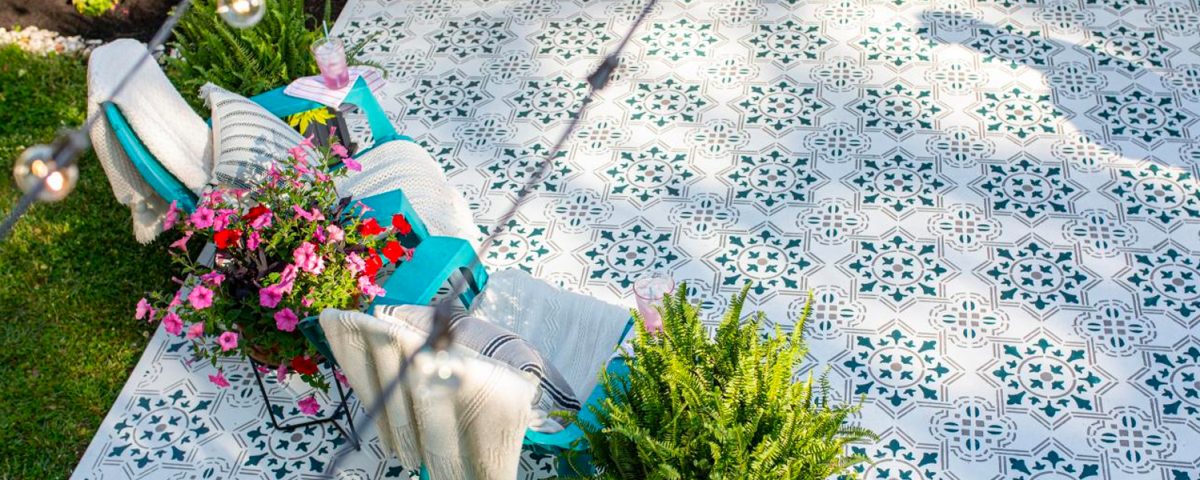
Do you have a simple concrete patio? Or perhaps large patio stones that are looking a little bit dated and out of style? Is your patio in need of a makeover? Have you heard of stenciled patios stones? This might just be exactly what the doctor ordered for your tired patio! Stenciling a patio isn’t a difficult thing to do, in fact, you can probably get the whole job done in a weekend. All you need are a few simple tools and materials. Most of which you can pick up at your local hardware store or even the dollar store! This entire project doesn’t need to cost more than $100 to complete. So, if you are feeling crafty and up for the challenge, read on for tips on how to stencil your patio!
Materials:
• Painter’s tape
• Solid-colour concrete stain or paint
• Paint tray & liner
• 16″ x 16″ stencil
• Exterior semi-gloss paint & primer
• Clear concrete sealer
Tools:
• Pressure washer (or another cleaner)
• Paint roller
• Paint roller covers, 3-pack
• Extension pole
• Trim brush
• Stencil brush
• High-quality foam pouncers
• Damp lint-free rag
Clean the Concrete
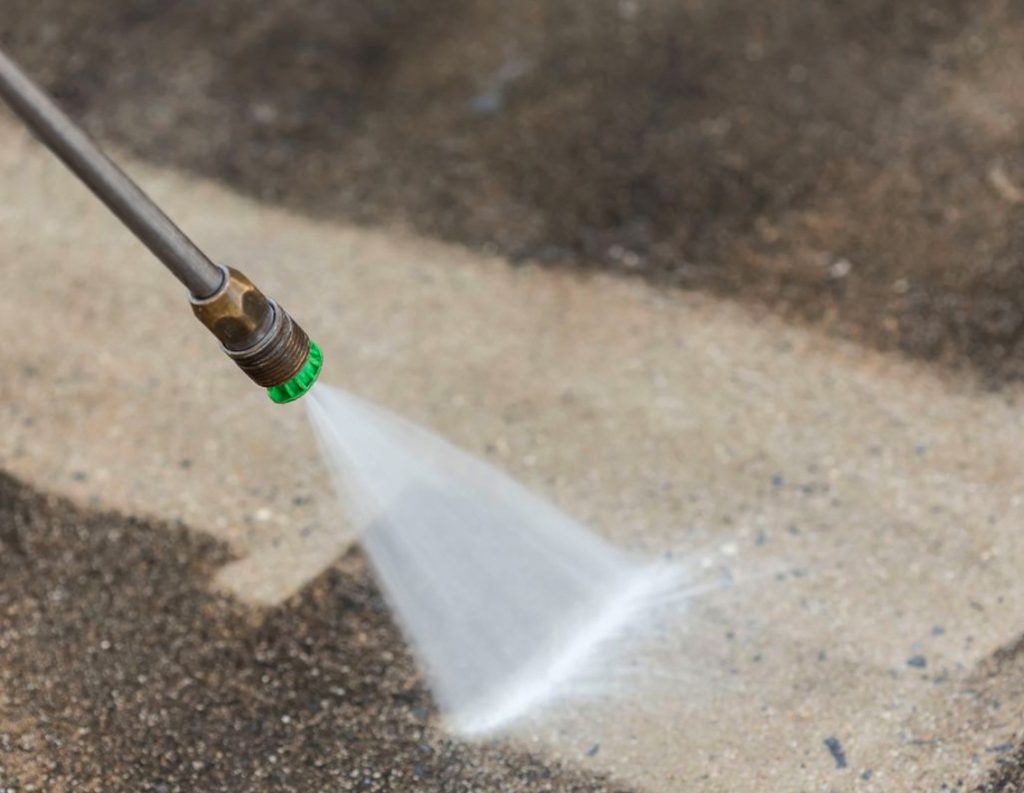
The first thing you will want to do when stenciling your patio is clean the concrete. This can be done with a pressure washer or some soap and a sponge or mop and bucket. You may want to add some TSP to get tougher stains out. It really depends on how dirty your concrete is. A pressure washer will do the quickest, toughest job on cleaning, so we recommend this option if you have access to one. If there are any cracks in your concrete, you may want to fill them in with a crack sealer and then be sure to sand the surface so it is nice and smooth for painting. Wait at least 24 hours before moving on to the next step. There may be long weeds around the outside of the patio, be sure to trim these with a weedeater or garden sheers before proceeding.
Prime Concrete & Apply Paint or Stain
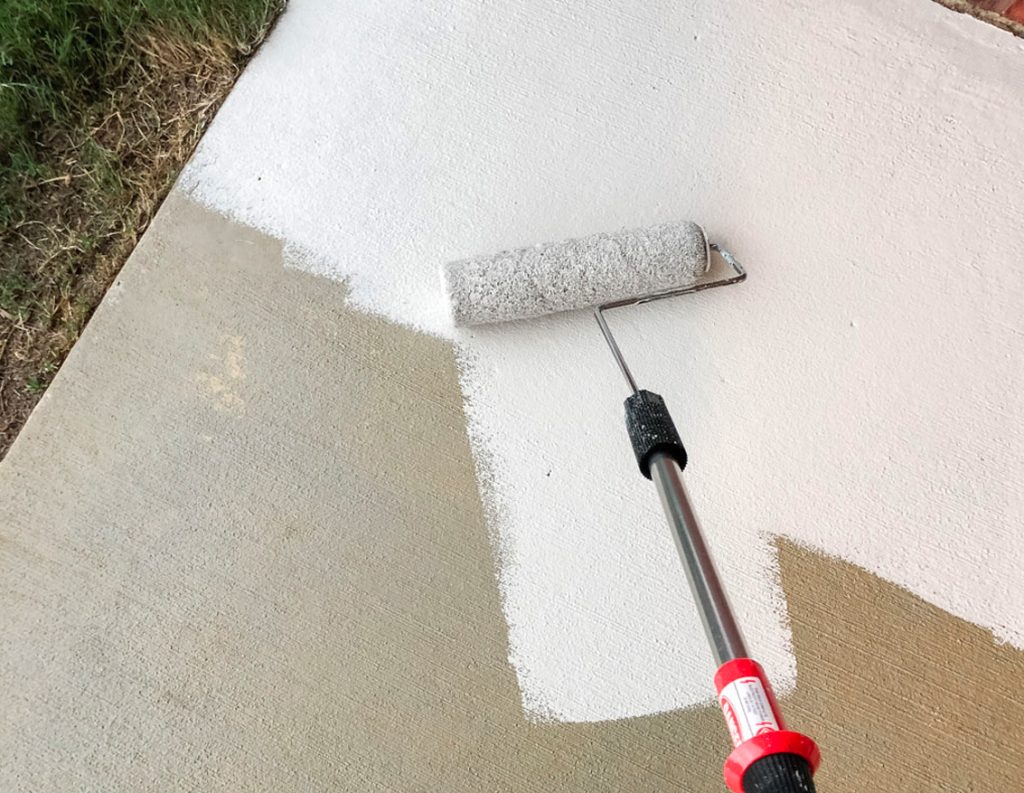
Choose the colour you would like the base of your patio to be. Most people choose white or gray, but you can do whatever you like! You may need to paint the concrete with a concrete primer if it is an older surface or if it has a colour to it. The primer will go on white but will dry clear, so have more outdoor floor paint on hand if you want your concrete to be white. Wait 1-4 hours before painting. If your concrete is newer and in good shape, you can get away without applying primer and skipping straight to paint or stain. Use your extension pole with your roller so you can paint the entire surface without waiting for it to dry. You may want to do 3-4 coats, depending on how it’s looking. Let the paint dry overnight before moving on to the next step.
Paint the Stencil
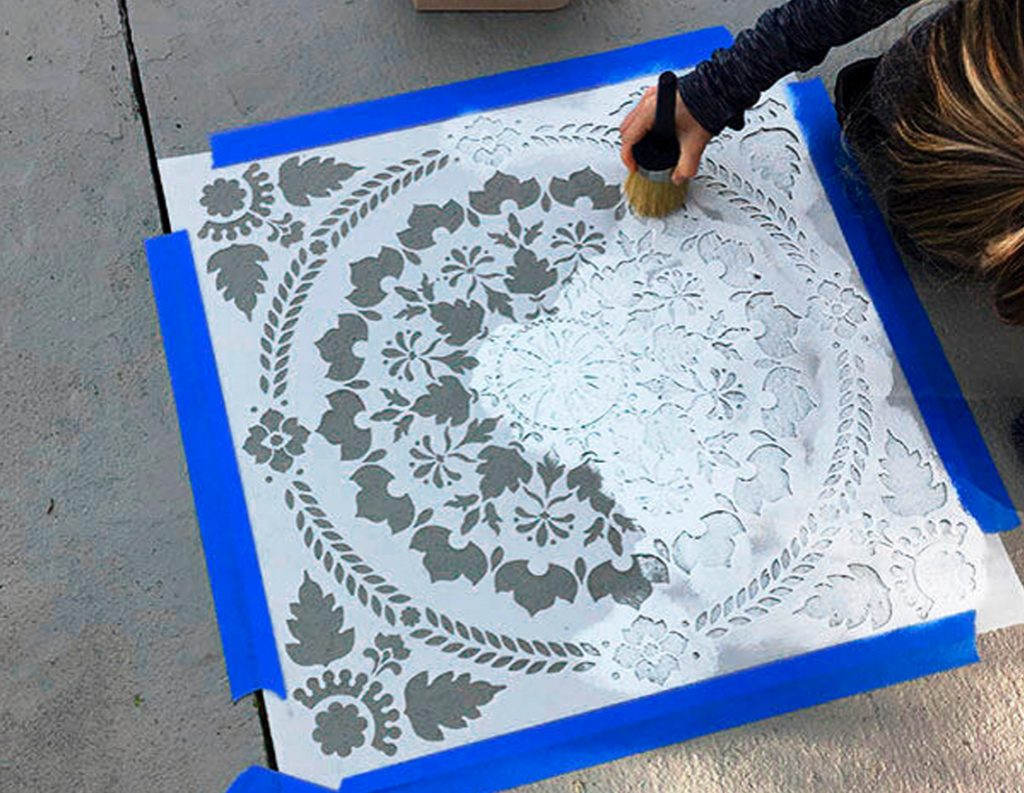
Place your stencil in the top right corner of your patio and tape it around the outside so it stays in place. Use outdoor floor paint for your stencil and choose a colour you are happy with. You can even try multiple colours if you are feeling adventurous! Load up your stencil brush and then dab the excess onto your damp rag. Start in the centre of your stencil and work your way outwards. Using a dabbing motion as you paint will avoid brush strokes. Once you have filled the entire stencil with paint, carefully peel off the tape and take your stencil off. Reposition your stencil below and repeat the process again. Continue in a line downwards until you reach the bottom of your patio, then start at the top and continue. You may want to wait for the paint to dry in between.
TIP:
Don’t forget to flip your stencil over from time to time and wipe off excess paint with your damp rag.
Seal the Paint
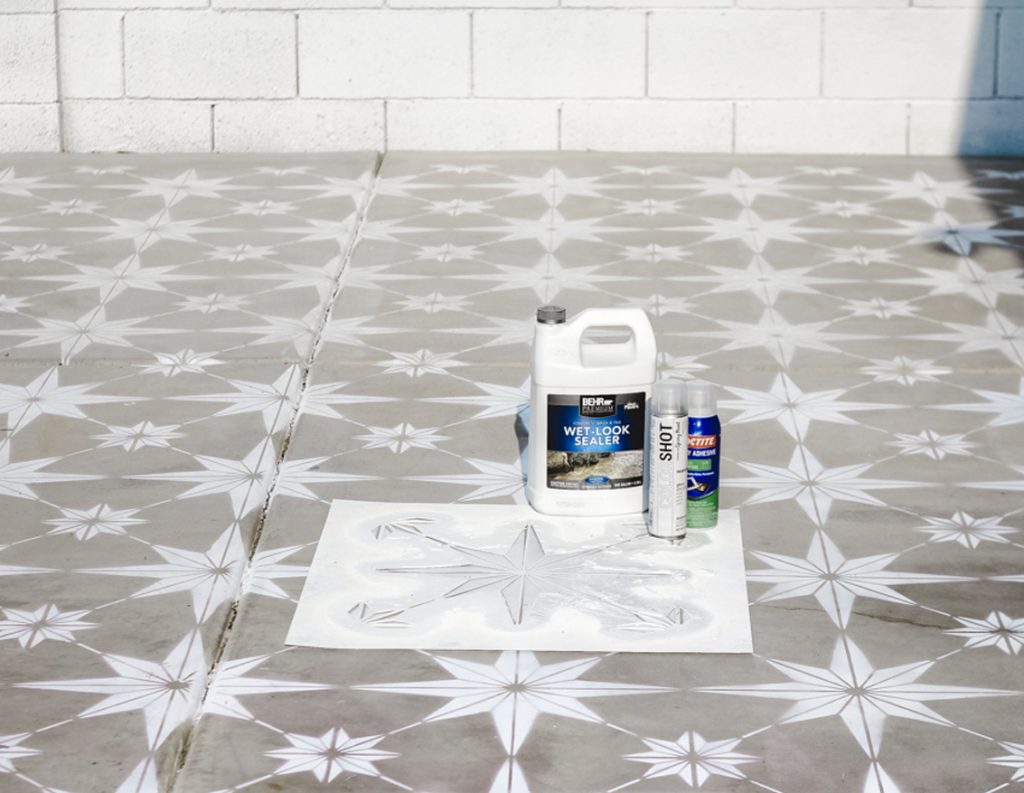
Once your stencils have dried (normally 4-6 hours later), it is time to seal the paint with a protective sealer. Use your roller brush and extension pole to apply the sealer. You can choose which kind of sealer you would like, two options include the “wet look” and the “dry look“. The difference between the two is in the name. One will leave your patio looking “wet” and shiny and the other will be more of a matte, “dry” look. Sealing your paint will help to keep it from stripping off in the rain or with foot traffic. Be sure to let the seal dry before walking on your patio or arranging furniture on top of it.
Maintaining Your Project
The upkeep of your stenciled patio isn’t too extensive. Just clean it every couple of weeks with your garden hose. You can use dish soap on tougher stains such as bird poop or dried leaves. Using this soap won’t fade your paint, so feel free to use it whenever! To avoid scratching, you can install sliders to your patio furniture feet. This will also make them easier to move around. It is also a good idea to use a dish underneath your plant pots, this will prevent excess water and fertilizer from seeping through onto the paint. Other than that, there isn’t a lot of maintenance for your stencilled patio!
Enjoy!
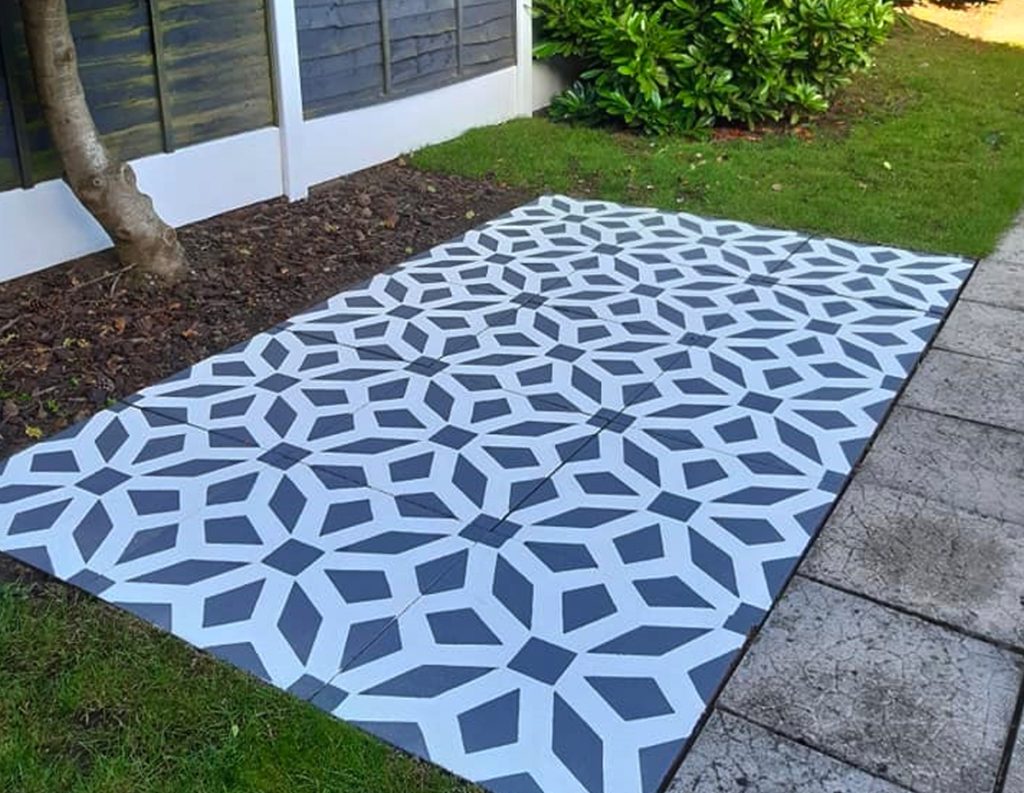
Adding stenciled concrete is an affordable way to totally revamp your outdoor space. It will have your old patio looking sleek and modern in no time at all! Once the project is finished and you have placed all of your outdoor furniture and decor back in their place, it is time to sit back and enjoy! You will be shocked at how many compliments you receive on your new patio. And it sure does feel good to be able to say, “I did it myself!”. So, grab a drink and come and enjoy your new stenciled patio, and revel in all your hard work. It looks amazing!
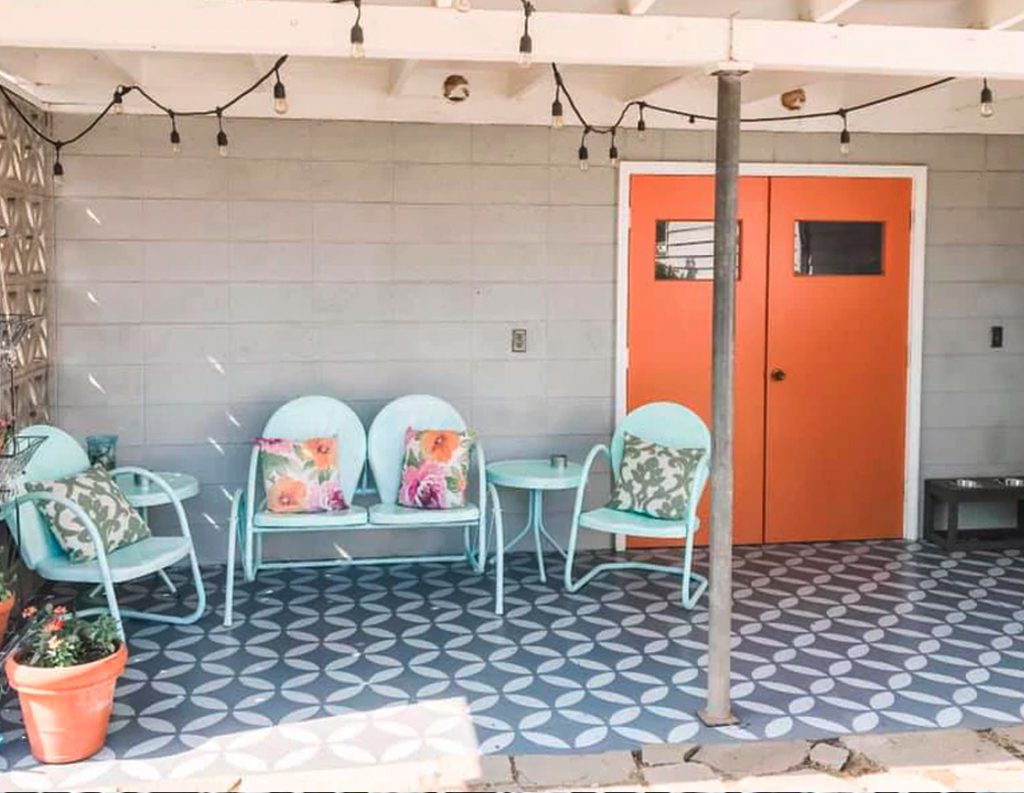
In conclusion, we hope you enjoyed out step by step guide for stenciling your patio. This is such an easy way to make a huge difference to anyone’s backyard space. The best part is how inexpensive it is. You can create a designer patio without the designer price tag all by yourself in a matter of days! Plus, with a bit of care and maintenance, this beautiful patio will last for years to come.
Looking for more backyard inspiration?
Check out our great articles such as outdoor inspiration for any space or how to create the ultimate backyard hangout!
Want a new home with a bigger outdoor space? Contact us today! We would love to help you find your dream home!


